YubiKey Authenticator
Once YubiKey Authenticator is enabled, users are authenticated first through their AD domain credentials, and next through the one-time passcode (OTP) generated by the YubiKey Authenticator.
Prerequisite
- The firewall should have the outbound connections listed below:
- https://api.yubico.com/wsapi/2.0/verify
- https://api2.yubico.com/wsapi/2.0/verify
- https://api3.yubico.com/wsapi/2.0/verify
- https://api4.yubico.com/wsapi/2.0/verify
- https://api5.yubico.com/wsapi/2.0/verify
- Get the Client ID and Secret Key from the YubiKey website by following the steps below:
- Go to https://upgrade.yubico.com/getapikey.
- Enter your email address. Connect the Yubikey to your workstation or server and enter the YubiKey OTP.
- Select the I've read and accepted the Terms and Conditions option. Click Get API Key.
- Copy the displayed Secret Key.
Steps for YubiKey Authenticator verification:
-
Go to Configuration → Self-Service → Multi-factor Authentication → Authenticators Setup.
- Select the policy for which YubiKey Authenticator is to be configured from the drop-down
- Click YubiKey Authenticator section.
-
Enter the Client ID and the Secret Key from step 2 of the prerequisites.
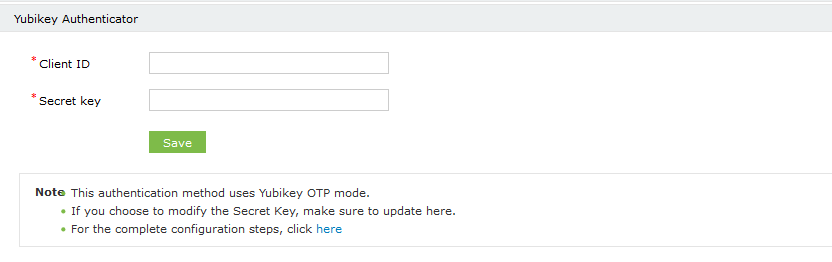
-
Click Save.
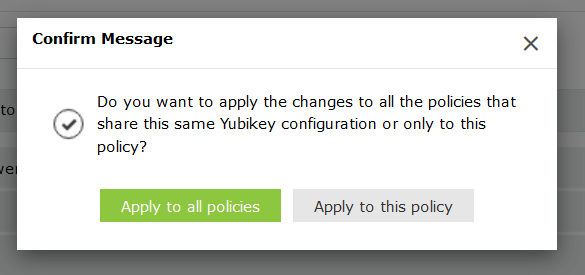
Note: You can choose to enforce multiple configurations for different users based on their domain, group, or OU membership, or simply apply one YubiKey Authenticator setting for all users..


 ADManager Plus
 ADAudit Plus
 Exchange Reporter Plus
 M365 Manager Plus